NCA-4240A-LD1
BIOS update for NCA-4240A-LD1 aka scope7-4240
For the NCA-4240A-LD1, two update processes must be performed: a BIOS update and an ME update.
Please note that downloading and installing our BIOS upgrade packages is done at your own risk. An improperly executed update can lead to malfunctions or, in the worst case, cause irreparable damage to your system. Before installation, make sure that the upgrade package matches your device model and hardware configuration exactly. Do not interrupt the update process under any circumstances—especially not by restarting the system, cutting power, or removing storage media. We strongly recommend performing a full data backup prior to the BIOS upgrade. We accept no liability for any potential damage, data loss, or system failures. If you are unsure or have any questions, please contact our technical support team beforehand.
Preparation
Prepare a Bootable USB Stick
You will need a USB stick with at least 1 GB of storage.
Format the stick using the FAT32 file system.
Next, extract the ZIP archive for the NCA-4240A-LD1 provided by Landitec directly onto the USB stick.
Extracting with Windows
- Right-click on the ZIP archive
- Select Extract All from the context menu
- Click Browse to choose your USB stick as the destination
- Start the extraction by clicking Extract
Booting from the USB Stick
- Insert the USB stick into the NCA-4240A-LD1
- Now connect to the NCA-4240A-LD1 (e.g. RJ45, mini-USB)
- Start a serial connection with a terminal program such as Putty or Minicom
Configure your terminal program so that it uses the following settings:
115200, 8N1.
- Power on the NCA-4240A-LD1
- Immediately press DEL to enter the BIOS setup
- In the BIOS, go to the last tab and look for Boot Override
- Select your USB stick from the list to boot from it
The system should now boot from the USB stick.
Please wait until the boot process has fully completed.
Updating / Flash

When the process is complete, the output should resemble the screenshot above
Step 1: Updating BIOS (flash)
- At the console prompt, type flash_bios and press ENTER
- The flashing process will begin
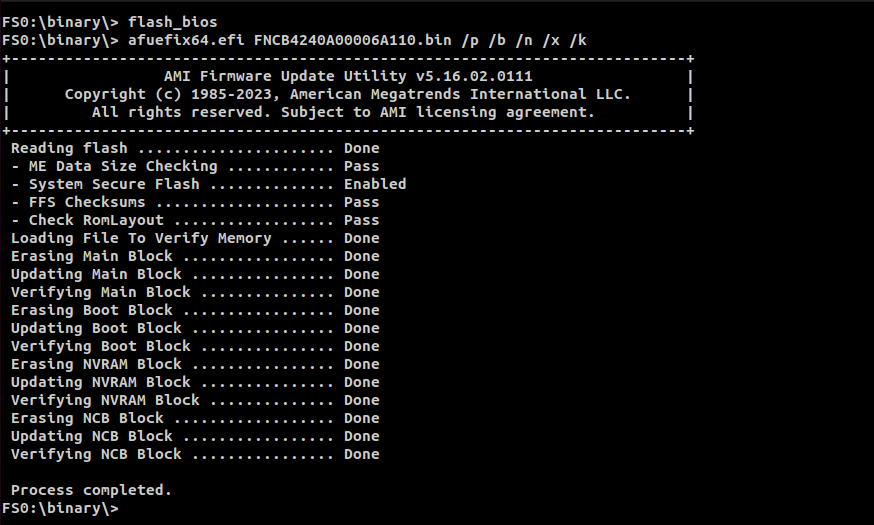
When the process is complete, the output should resemble the screenshot above
- Power off the device using the power button
- Wait 10 seconds, then power the device back on
- Immediately press DEL to enter the BIOS
Step 2: Enable Firmware Re-Flash Option
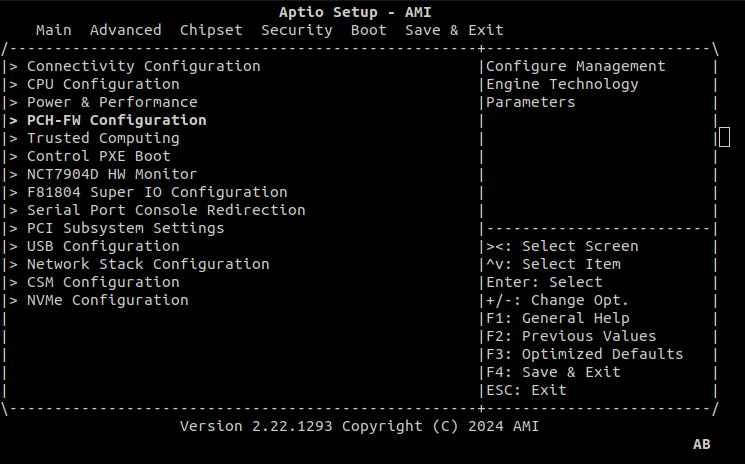
- In the BIOS, go to the Advanced tab
- Select PCH-FW Configuration and press ENTER
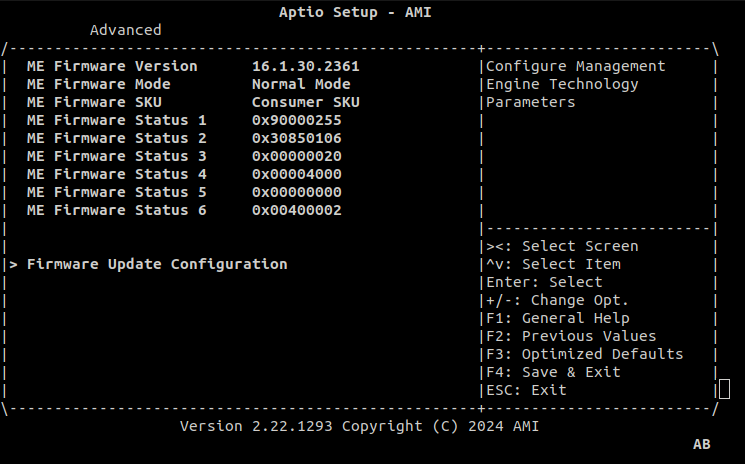
- In the next screen, select Firmware Update Configuration
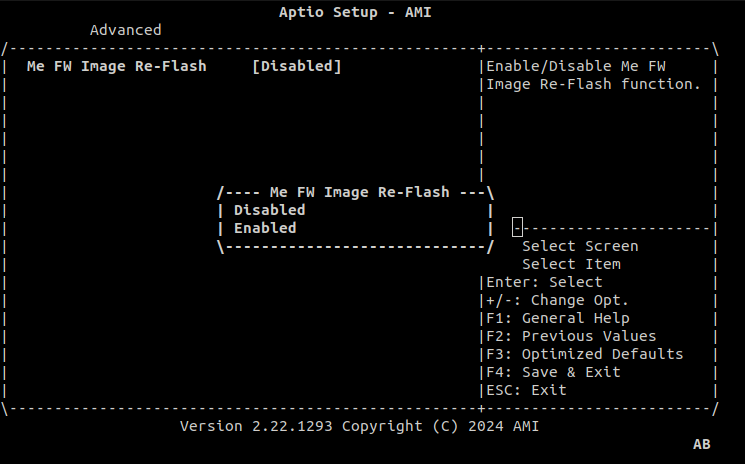
- Select Me FW Image Re-Flash
- Set the value to Enabled and confirm with ENTER
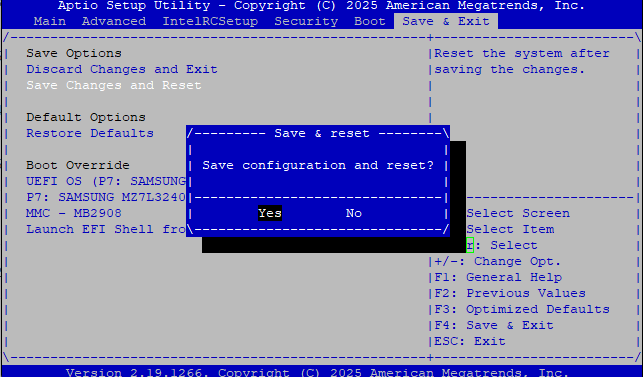
Step 3: Save and Restart
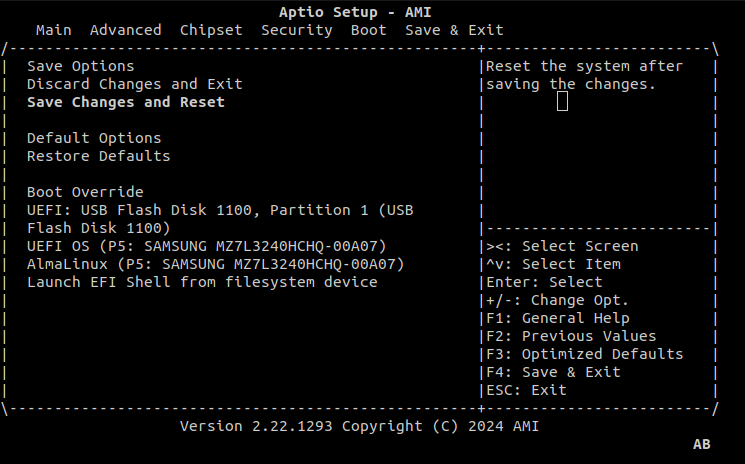
- Navigate to the Save & Exit tab
- Select Save Changes and Reset
- Confirm with Yes
Step 4: Updating ME (flash)
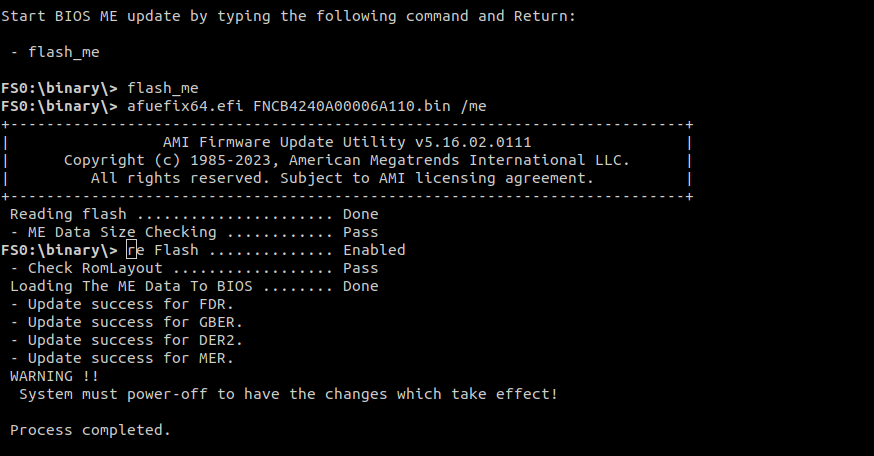
- Boot from the USB stick again
- At the console prompt, type flash_me and press ENTER
- Wait for the process to complete
Once completed, the output should look like the screenshot above
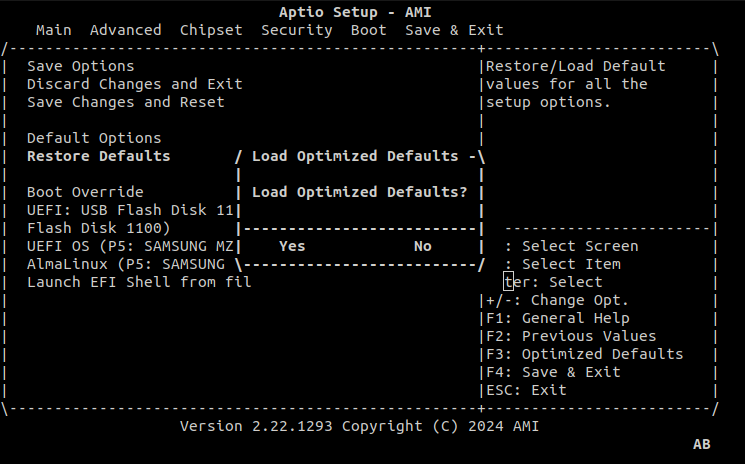
Restore BIOS Defaults
load the defaults in BIOS under Save and Exit.
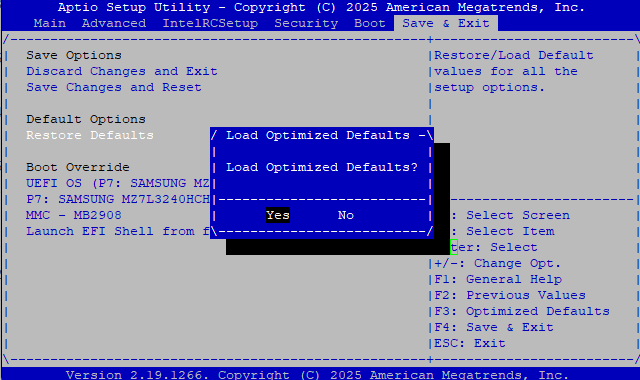
Save the confgurations and exit.
✅ The BIOS update process for NCA-4240A-LD1 is now complete!