Ceph
To create a Ceph storage all nodes should be included into the same cluster. For more information about Ceph visit the website ceph.io.
Installation
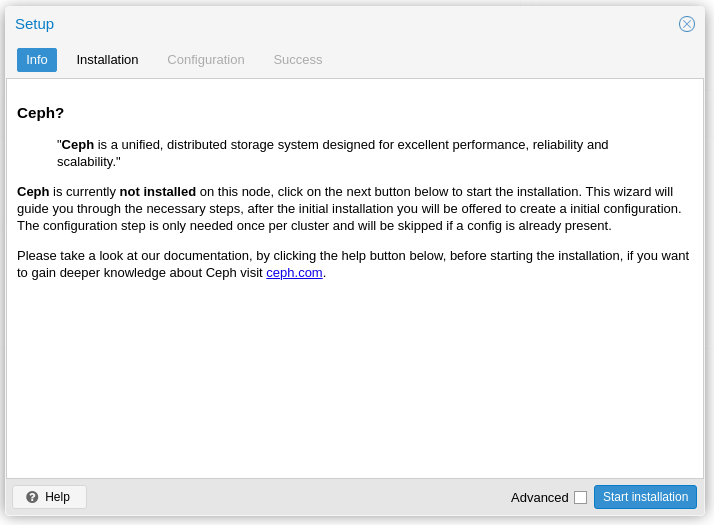
Open the menupoint Ceph in a node menu shows a dialog box if Ceph is not installed on the node.

A click on the install button starts the Setup-wizard to install and create a base configuration for Ceph.
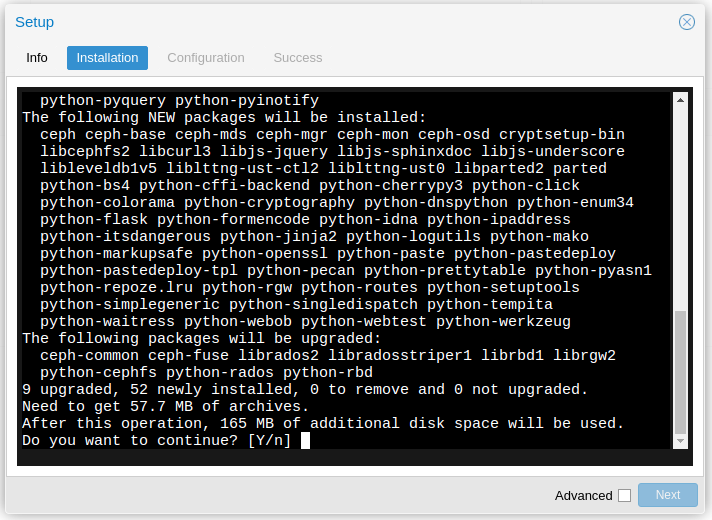
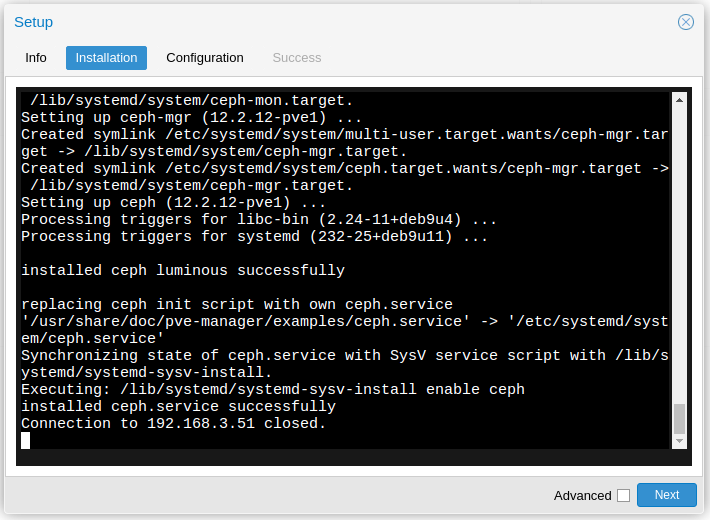
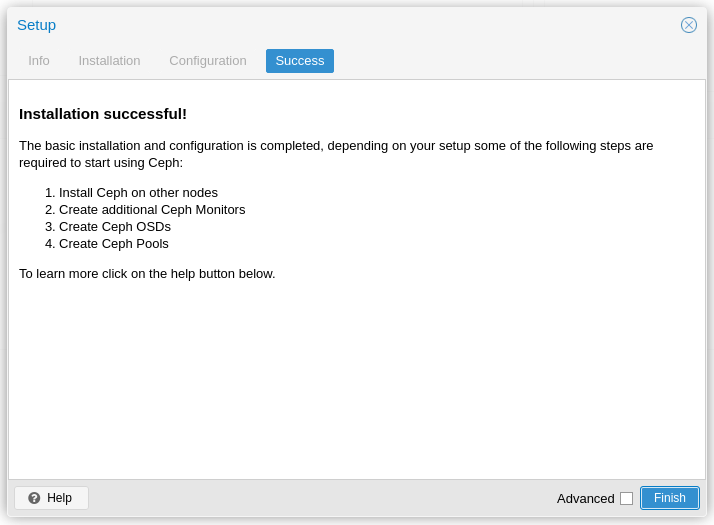
The first page in the wizard shows some information. The button at the bottom starts installation, which needs to install some packages.
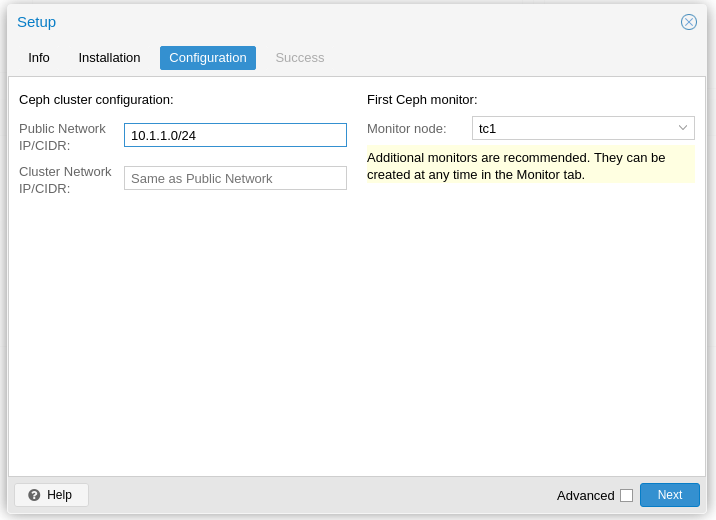
On the next page the network of the cluster has to be given. The Next button will start configuration and shows then the final wizard page.
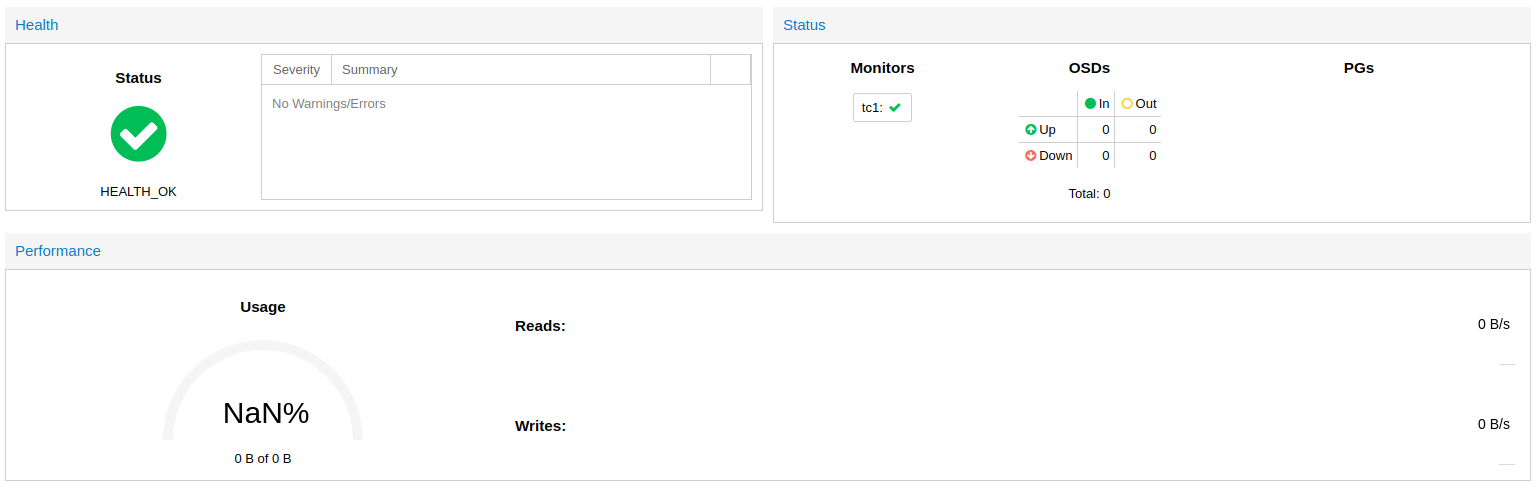
After closing the Ceph setup wizard the Ceph status page shows the current state of the Ceph. The status should be HEALTH OK with one monitor and no OSDs.
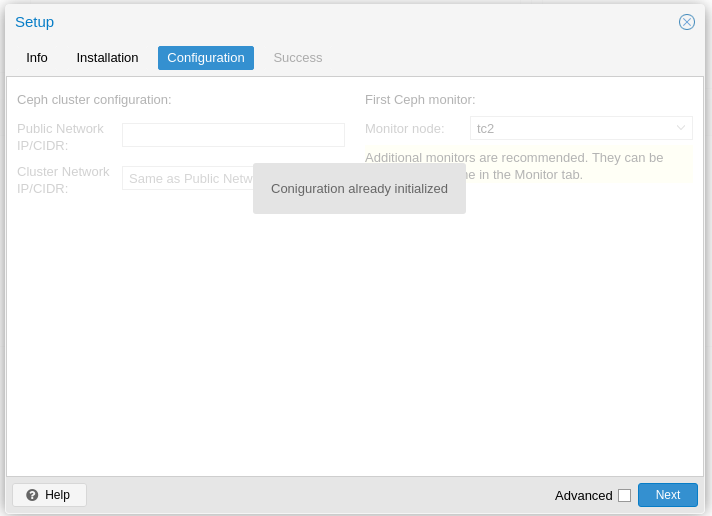
On all the others nodes the installation of Ceph has to be started in the same way as on the first node. Installation of the packages will be the same, but there is no need to configure Ceph as shown in next figure, since it takes the configuration from the first node.
Monitor
A Ceph storage can be used with just one monitor, but it is highly recommended to have more than one monitor for redundancy. Open the Monitor menupoint under Ceph in the node menu and create monitors on the other nodes, so on all nodes a monitor is running. This allows to stop one cluster node without stopping Ceph.
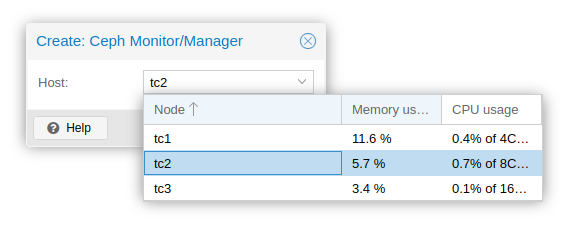
Starting with Proxmox version 6 the WebUI allows you to start a Manager next to the Monitor daemons. It is not mandatory to place Monitor daemons on the same nodes as Monitors, but it is almost always sensible. You can find the Manager section below the Monitor section on the same page in the WebUI.
OSD
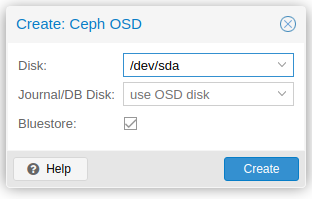
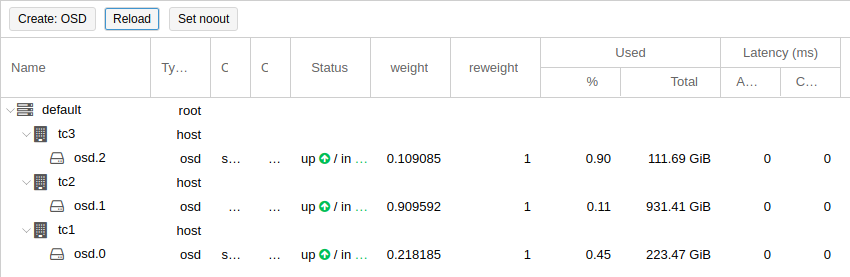
Until now the Ceph storage is running without any storage devices. To store data on Ceph some storage disks, called OSD1, must be added. In the menupoint OSD is a Create button, which opens a dialog to create OSDs. This dialog must be called on each node, because it checks the free disks on the node and offers them in a dropdown box. If there is no disk listed, then you have to add a fresh disk or free a disk. Figure shows the created OSDs of all nodes after opening the menupoint OSD (it can take some seconds to create an OSD, so maybe the Reload button must be used some times to display all OSDs).
Pools
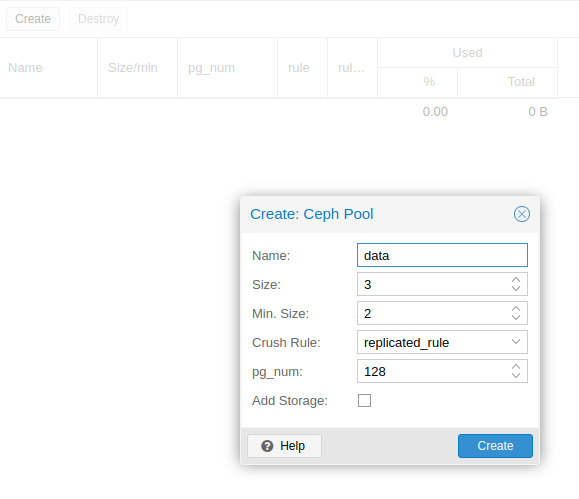
Before a storage for Proxmox can be created a Ceph pool is needed, which contains the Proxmox storage. In the menupoint Pools pools can be managed. Add a new pool by pointing on Create button and set a name for the new pool. The value for pg_num depends on the content and the count of OSDs. More information about calculating it offers the website Ceph pgcalc.
Storage
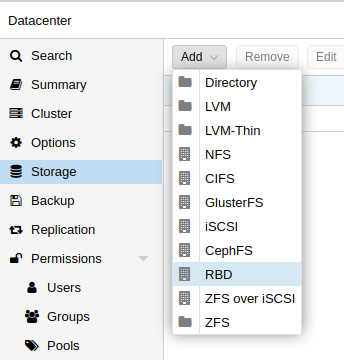
Now it is time to create a new storage for Proxmox, which can be used to store VM images in it. Open the Datacenter menu und click on the Storage menupoint. All available storages are listed. Click on the Add button and select RBD. In the dialog window insert a name for your storage (ID), select the pool to use (if there are more then one) and press the Add button. After a few minutes the storage is created and appears under each node in the cluster, because it is shared. VMs using a shared storage can be migrated from one node to another without downtime (Livemigration).

VM
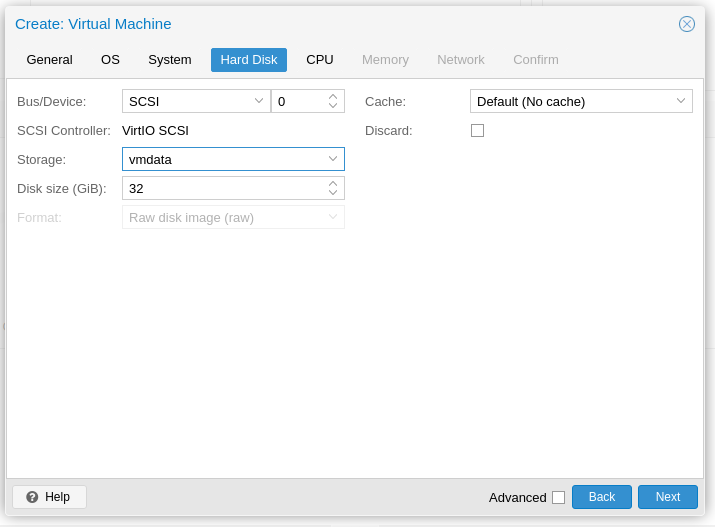
New Virtual Machines can use this storage for their disk images. The figure shows how to select the new storage on VM creation dialog.
Restore a cluster node with Ceph
In some situations (e.g. hardware failure) a node can fail and is no longer available. In this case the node must be replaced by a new one. In the \proxmox WebUI the old node is still visible, but all resources of the node are vanished and therefore not usable anymore.
The Replace/Restore procedure needs some steps, which are described in the following paragraphs.
Install node
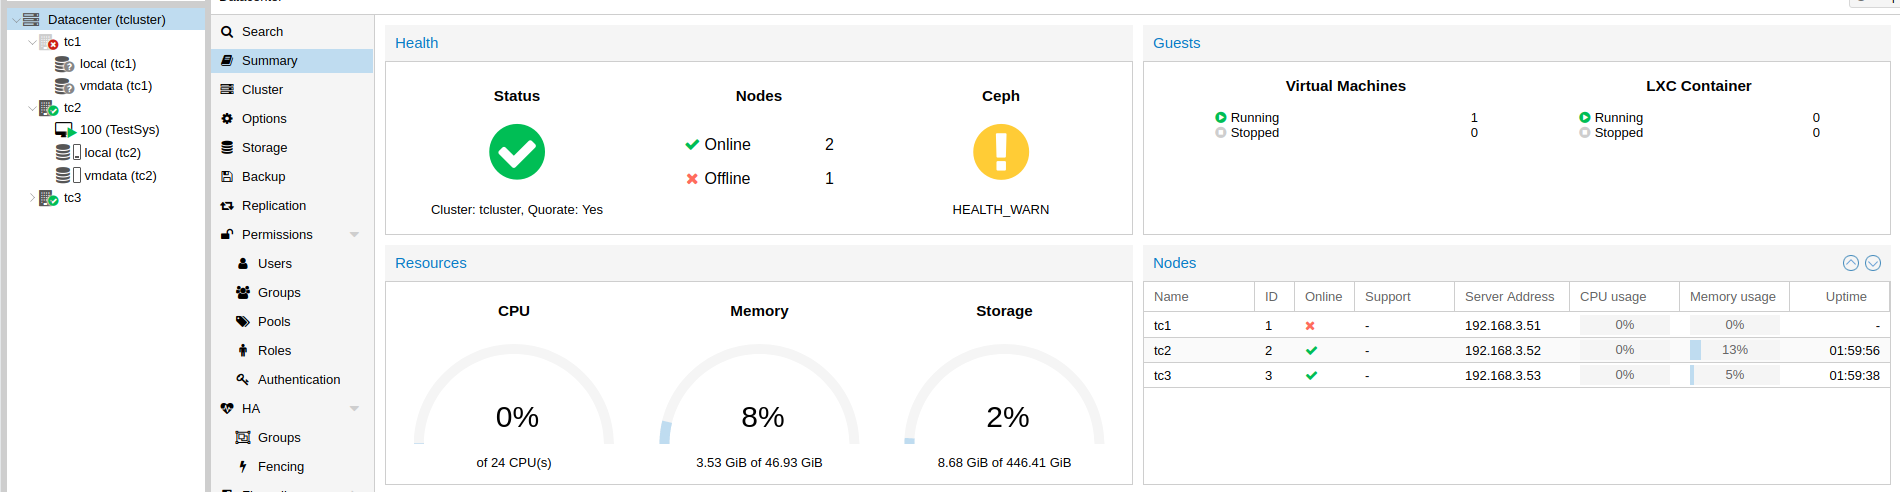
Replace the appliance and install Proxmox using SDR with the latest backupfile of the failed node (configuration.dat) including Ceph configuration. After SDR boot the node with all network cables attached. The node restores its configuration and will join the cluster after a few minutes. The figure shows the situation of the fresh started node in the \proxmox WebUI.

Take care that the latest updates are installed on the node and reboot the node if requested by update.
Install Ceph
Pointing on the Ceph menu item in the node menu of the new node shows the message that Ceph is not installed. So the next step is to install Ceph on the node by starting the installation wizard using the installation button in the message box. The configuration for Ceph will be taken from the other nodes in the cluster.
The Ceph status displys still HEALTH_WARN, because OSDs and monitors are not complete. Therefore the data redundancy is not present.

Replace OSD
The old OSD is gone and not longer available. All stored data on it are lost. To replace it by a new one the old configurations of the missing OSDs must be removed. For this open the menu item OSD in the node menu of the new node. Select the old OSD and click on the Destroy button to remove the OSD from configuration.
Then add a new OSD by click on the Create: OSD button. An unused disk will be offered to use it for the new OSD (how to free a disk if needed). Reload the page to see if the new OSD was created.
After this step the Ceph is still in degraded state.
Replace Monitor
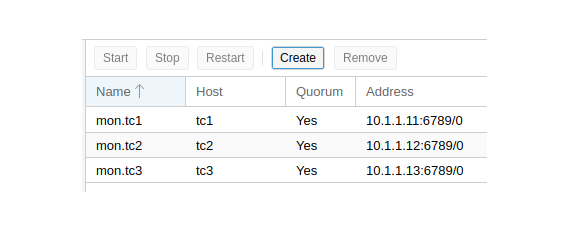
The list under the menupoint Monitor in the node menu includes still the old monitor of the old node. Removing via WebUI is not possible, because the request ends in an error. Also it is not possible to create a new one, because there is already a monitor for the node configured. The removing of the old monitor can be done manually on the commandline.
Before removing all monitors in the cluster have to be stopped. For this select a monitor in the list and click on the Stop button. Do this for all monitors until each entry shows No in the column Quorum.
Now open the commandline of an older node (not on the new node!). Perform the following commands as user root (in this example the monitor of node tc1 should be removed, replace tc1 with the correct hostname of the node!):
root@tc2:/etc# ceph-mon -i $(hostname) --extract-monmap /tmp/monmap
2019-08-15 12:43:49.546358 7f5d5b384100 -1 wrote monmap to /tmp/monmap

root@tc2:/etc# # Replace tc1 by hostname of new node
root@tc2:/etc# monmaptool /tmp/monmap --rm tc1
monmaptool: monmap file /tmp/monmap
monmaptool: removing tc1
monmaptool: writing epoch 5 to /tmp/monmap (2 monitors)

root@tc2:/etc# ceph-mon -i $(hostname) --inject-monmap /tmp/monmap

root@tc2:/etc# # Replace tc1 by hostname of new node
root@tc2:/etc# sed -i -e '/mon.tc1/,+3d' /etc/pve/ceph.conf
Start all monitors of the older nodes in the Proxmox WebUI after selection in the monitor list by clicking on the Start button. Now the state of Ceph should have been changed to HEALTH_OK and the monitor of the old node will not be displayed anymore.
At least a new monitor for the replacement node can be created. Go to the Monitor menupoint in the node menu und click on the Create button to create a new monitor.